Wednesday, January 25, 2017

Papertrey Ink Blog Hop

Good morning! I fell in love with the image for this month's blog hop over at Papertrey Ink and couldn't wait to us it for some inspiration. I'll admit this card ended up in a completely different direction than I had originally intended for it to go, but as most of you know, sometimes that happens.
I thought about starting all over, but just did not have time for that. Instead, I chose to just go with it.

Here is the inspiration photo...


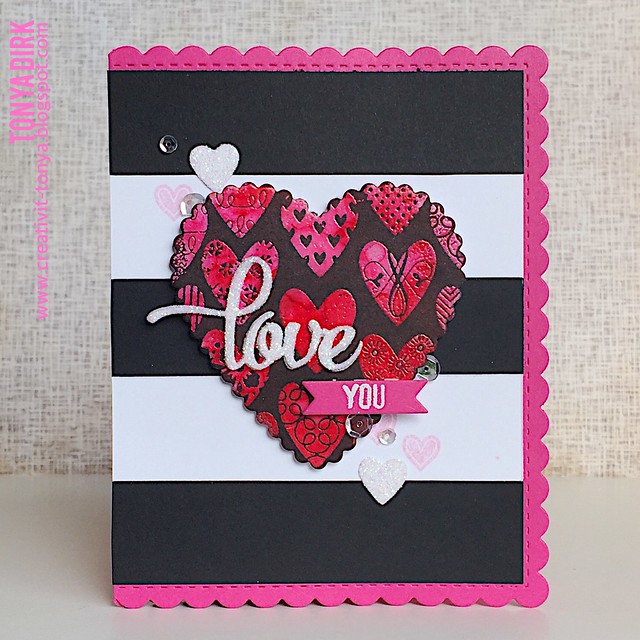
Here is the card that I came up with...
IMG_2930

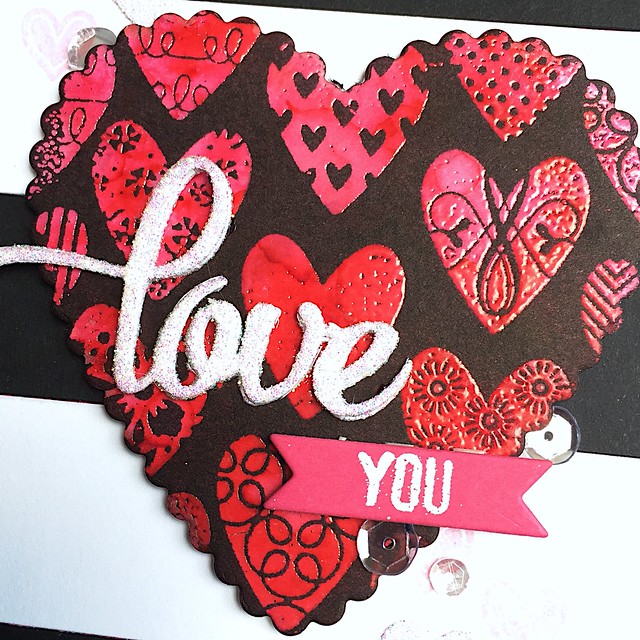
I started this by blending pink and red Distress Inks onto a piece of white cardstock. Then I heat embossed the hearts from Happy Hearts with clear embossing powder over the top. After I die cut the large scalloped heart out I went over the entire thing with black Distress Ink. I really loved the way the colorful hearts popped off of what was now a black background.

Here's a close up of embossed hearts.
FullSizeRender (1)

For the sentiment I simply layered three 'love' die cuts together and topped it with glitter.

Thanks for stopping by and taking a look.

Stamps: Happy Hearts, Wonderful Words: Love, Shakers & Sprinkles
Dies: Four Square, Inspired Love

Sunday, January 22, 2017

MFT Color Challenge #61

It's been really quiet around here...haven't been using the old blog and have just been posting to Instagram instead. Thought I would blow the dust off here and get back to the blog.

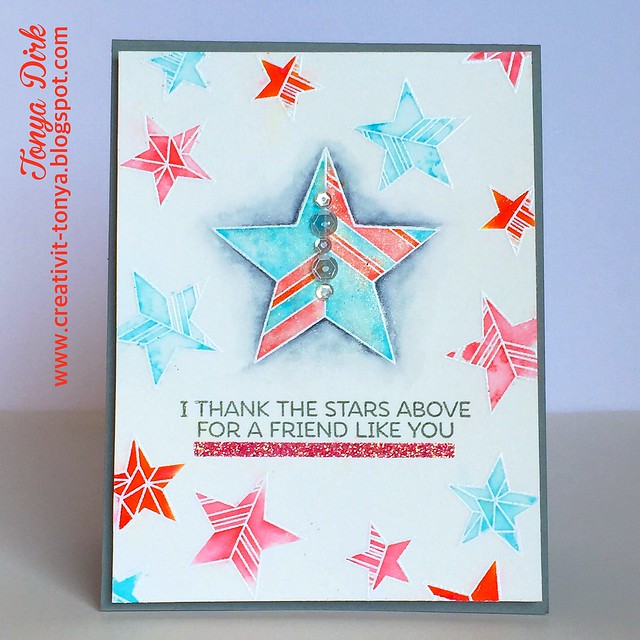
Today I have a card to share with you that I used for the latest color challenge over on the My Favorite Things blog. This one was a great color scheme: some blues, oranges, and greys.


I started this one by heat embossing the stars, from the Stars Above stamp set, onto a panel of watercolor paper. 

  IMG_2920

After the embossing was all done I pulled out my ZIG Clean Color pens and went to town coloring in the images. Once the paper was dry I stamped my sentiment and added that little strip of glitter underneath to make it stand out a bit more.

  FullSizeRender

To embellish the large star in the center I simply used my Wink of Stella pen. It kind of exploded on me and there was this huge drop of glittery goodness that plopped down right on the edge of the star. So I just used my finger and spread that all around including off of the edges all the way around. Looks great in person! Lastly, I topped it off with some Pretty Pink Posh sequins.

Thanks for stopping by and make sure to head over the MFT blog to check out the other pretty projects made for this challenge...just click HERE